Before you read on the following article is for Windows users only, at the time of writing I don't believe the plugins for OBS are cross-platform. If this changes please let me know so I can update appropriately.
A radical shift to working from home in a short period of time saw the rapid adoption of video calling and conferencing solutions. At the time of writing many of the major players in this space offer a way to customise your background. While this is mostly to allow you some privacy in your own home, or to project a more professional environment, it has allowed many people to flex their creative muscles and bring joy to their colleagues.

Arguably my favourite use of this feature was a colleague using the above as their custom background and then dressing up as a Pokémon. The problem with images though is that they are limited in their usefulness, and provide only limited opportunities for comedy if memes are your thing. Below we will look at how you can turn some free video capture software into a powerful virtual webcam.
Prerequisites
- A Windows machine
- Open Broadcaster Software (OBS) installed from https://obsproject.com/
- OBS Virtual-Cam Plugin installed from either https://obsproject.com/forum/resources/obs-virtualcam.949/ or https://github.com/Fenrirthviti/obs-virtual-cam/releases
- A decent internet connection
What Is OBS & Initial Set Up
For those of you who blindly followed my advice for installing the above software without checking it out thank you for the vote of confidence! For those of who you want to know a bit about the software you are installing we can cover this now...
OBS is a tool used by streamers and content producers to collate and capture many disparate audio and visual sources and combine them into a scene or collection of scenes. By doing this we can produce high quality content with many interactive and real time elements and increase the quality of video content without spending lots of time in post-production. OBS has been the open-source standard tool for some time and is well trusted in streaming and content creation communities.
How you set up OBS really depends on what you want to do with it. There is also, unfortunately, some effort and tinkering with settings to make sure you find a balance between the quality of video you can output and the bandwidth your internet has available for uploading video. If you're in Australia like me then your upload rates might be fairly small and your mileage may vary with this solution.
I am going to assume for this article that you have a decent upload rate on your internet, for example at home I have a 50/20 mbps plan which is more than suitable. I am also going to assume that you will want to locally record your content so you can save it for later or put it on your website.
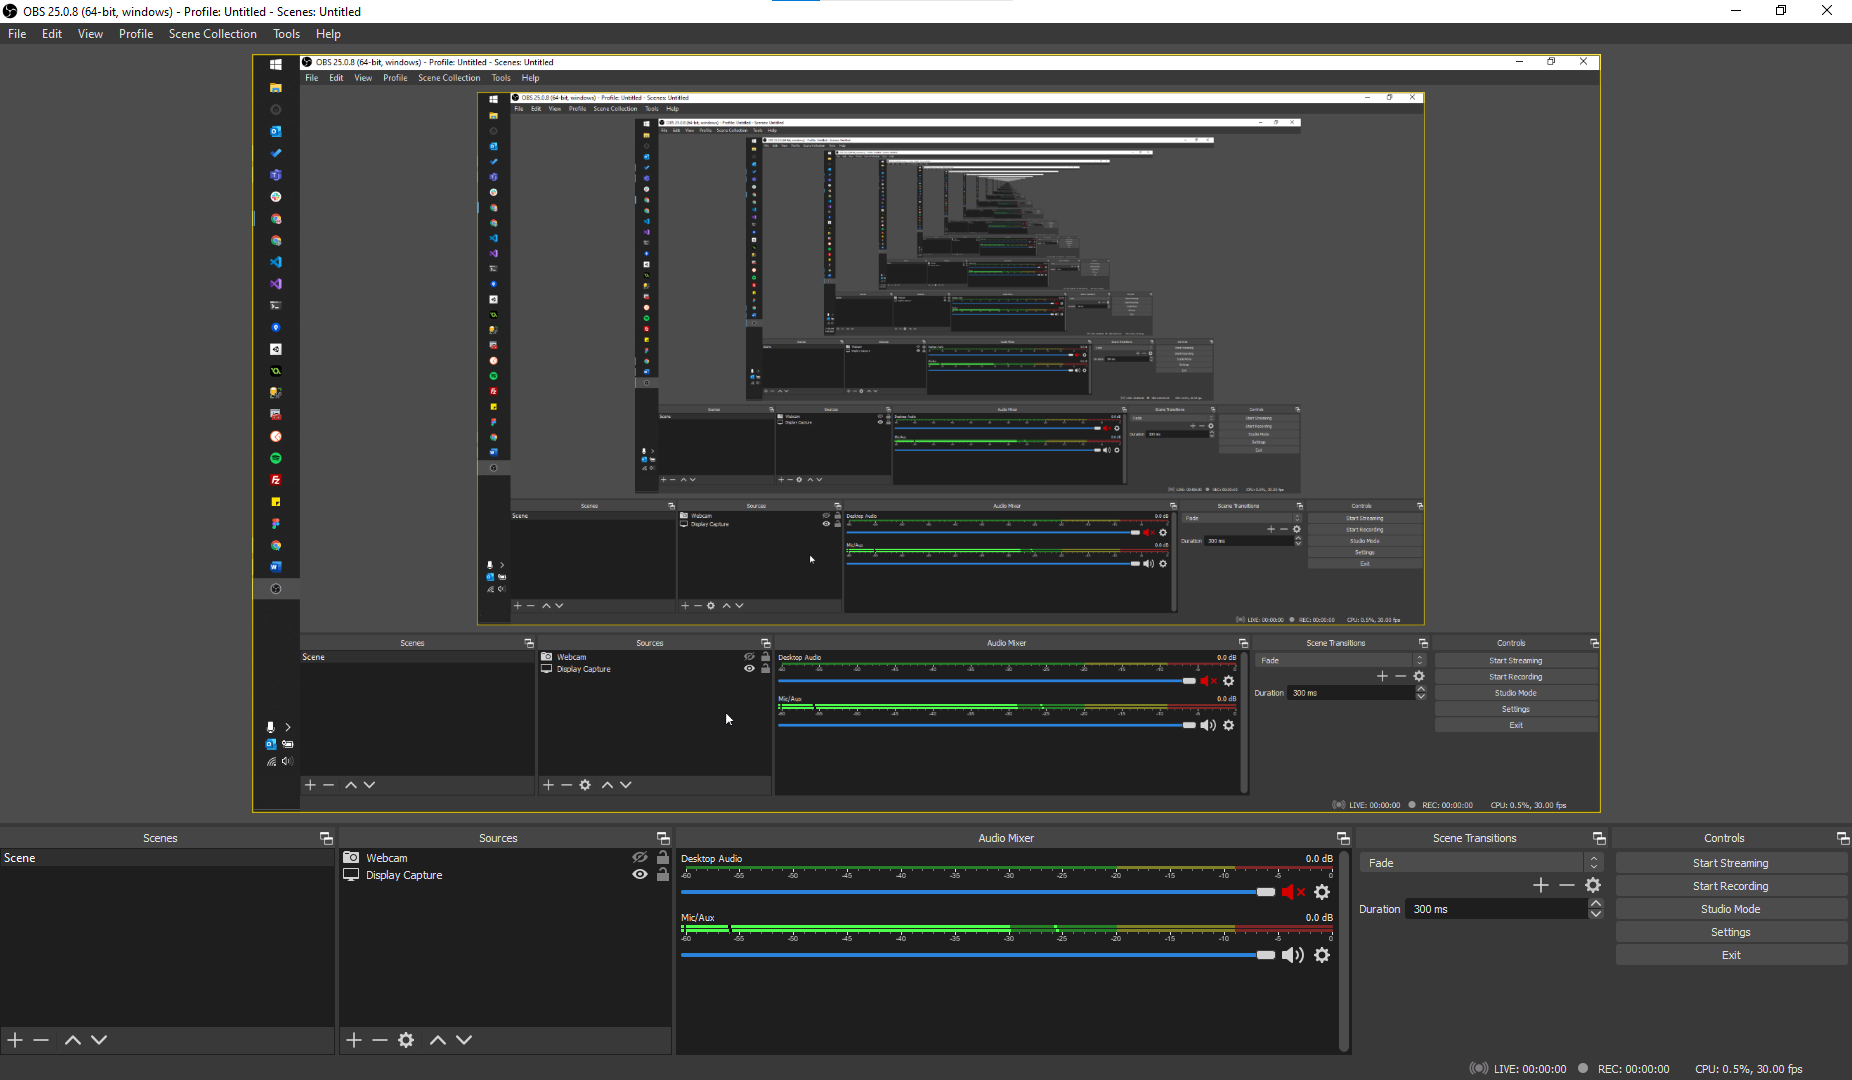
Let's open OBS and jump directly into the settings and make some basic defaults which you can work with...
Basic Video Settings
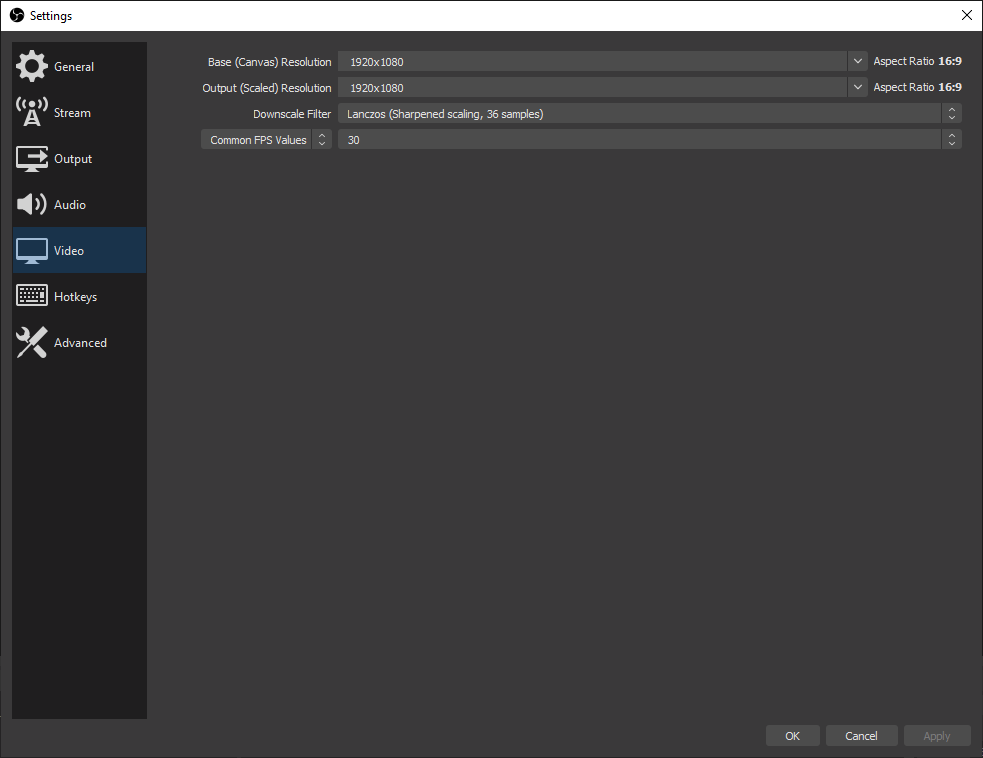
I like to set my base Canvas resolution to the same size as the monitor I will be recording from. While we don't need to just capture a monitor it's likely the windows you might want to capture will also be maximized so this is a nice starting value. Because we are also planning on doing some local recording we want to keep the resolution as high as possible, in this instance I do not scale it down. If you find you are having issues with your virtual webcam later then you might need to drop the Scaled Resolution down a bit. I've found in the past 1280x720 (720p) is a good middle ground of clarity and performance.
Recording Video Settings
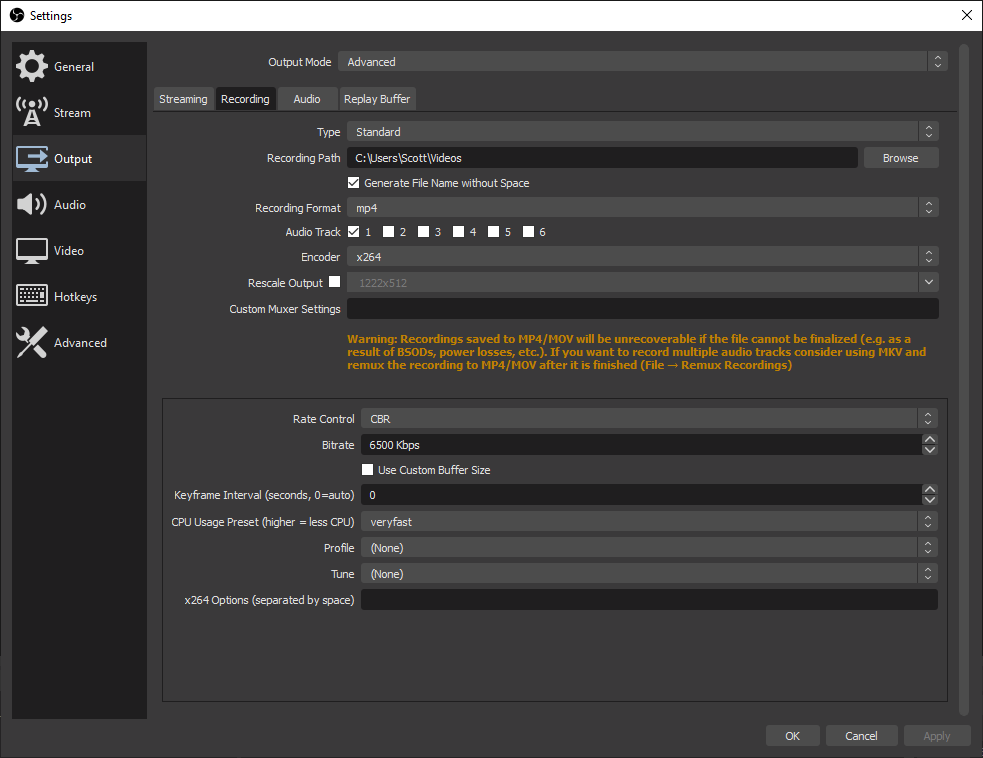
Much like with the basic settings you can probably take the above image and be fine with it. Where you may run into issues is with the Bitrate. The funny thing about video quality is the resolution of the video (in our case 1920x1080) doesn't tell the whole story for how clear the image will be. A 1920x1080 video with a low bit rate will look really muddy and blurry. The higher the bitrate the better the quality. With a higher bitrate there will be more strain on your graphics card and your internet connection to stream the larger packets. Personally my NVidia GTX 1060 in my laptop handles the encoding just fine.
Creating a Basic Scene
Now we have some video settings configured we actually want to set up our scene. We have lots of ways to add and customise our scenes in OBS and in lieu of reinventing the wheel I suggest you check out the OBS Wiki on Sources to get you most of the way.
But because I said you could create custom video backgrounds for your Webcam here is how I would configure the scene.
Add a Window Capture source and point it at either a video player or a tab in your browser that is playing the video you want to run. If you're in the browser you might want to stretch the Window Capture source outside the bounds of your canvas to hide the toolbar etc if you're unable to take advantage of full screen mode.
If you're planning on just replacing your boring normal human face with a funny video then you're pretty much set up and good to go. If you're like me and feel your boring normal human face adds something to the funny video then you may want to project your regular webcam into this same scene.
Add a Video Capture Device source and select your webcam.* Resize and move the preview as desired so you're a decent size and the background video can still be seen. Now it's time to share it with your colleagues.
*If you are already using your webcam in a video call or via another application it's unlikely you will see any output in OBS. Software typically "locks" the use of the hardware so that it can only be used by application at a time. Try closing any software using the webcam and try again.
Using the VirtualCam Plugin
Your scene is set up and you can see yourself live in the preview tab on OBS. Your funny video is playing and you're looking great in your webcam preview, now what?
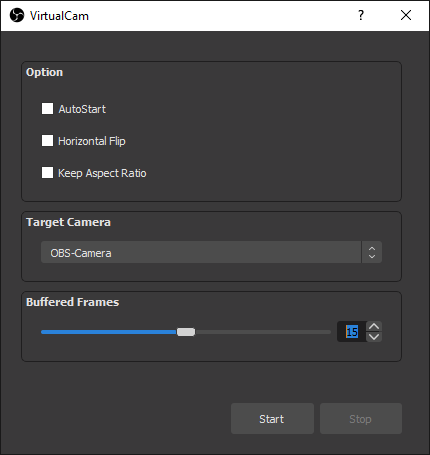
From the Tools menu find the VirtualCam entry. Click on Start to get it running. Your video feed is now being pumped out to a virtual camera named whatever is selected in your Target field, by default OBS-Camera.
Launch your video calling software of preference. Locate the area where you can specify the webcam you would like to use. Instead of selecting your normal webcam select the drop down and pick the entry named OBS-Camera.** If your video calling software shows a webcam preview or allows you to make a test call you can confirm this is working before you enter your important meeting.
**Much like the above advice to make sure OBS had access to your webcam the same is true for your video calling app. Make sure that OBS was opened first and the virtual webcam was running before you open your video calling app as the device may not show up in your device list otherwise.
But you said I could record...
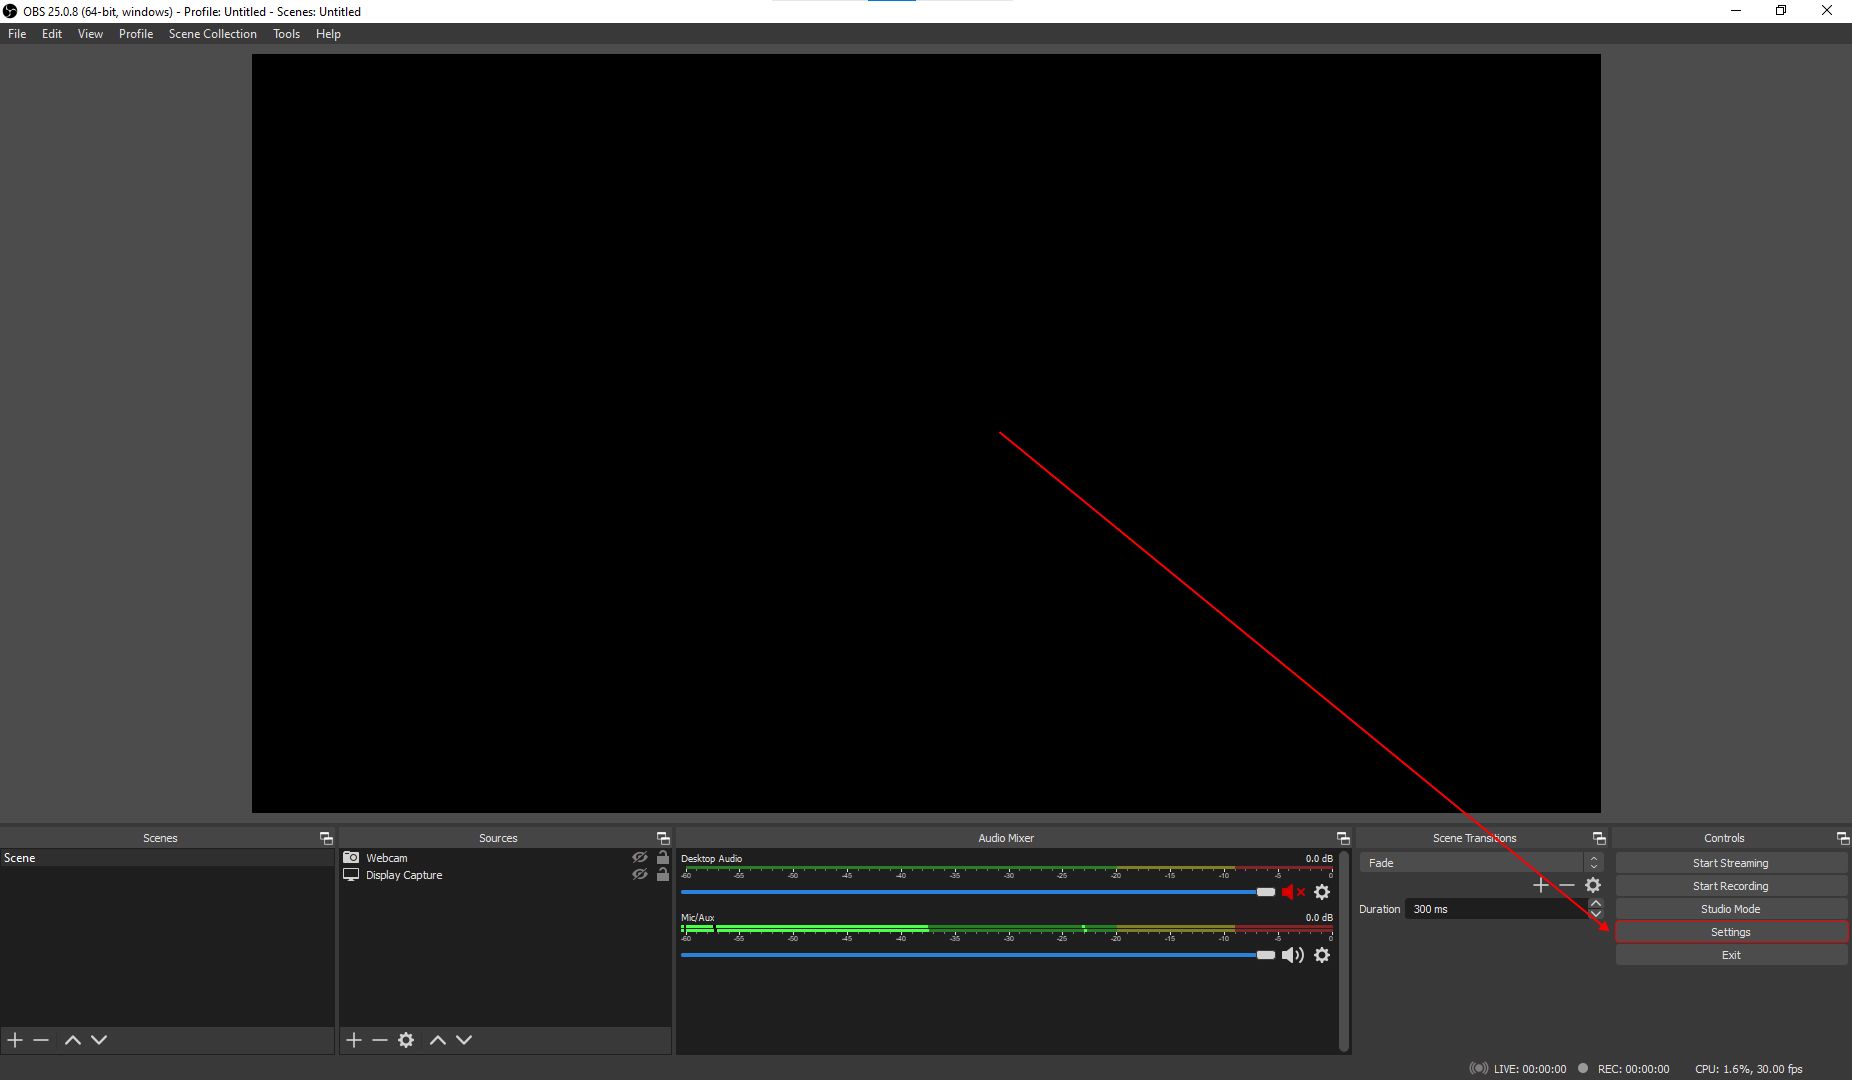
In the same location that we found our settings button there is a Start Recording button. This will start a recording based on the settings in our third image of this post, both with regard to location and quality. Remember when you are done sharing to also stop recording to make sure the file gets saved properly.
OBS is an extremely powerful tool. Though it can just be great for showing off and having a bit of fun it is a powerful addition to your arsenal if you do regular digital presentations and need good recordings. It can allow you to set up extremely custom scenarios, for example you could set up a scene that shows your webcam, a live version of your coding IDE and the output target all in one video so viewers get an overall picture of the changes occurring in your live demo.
The possibilities really are your imagination. If you did something really cool with this, or got stuck, please reach out to me at any of the social links in my footer!